
21 Above Ground Pool Steps: Upgrade Your Outdoor Oasis
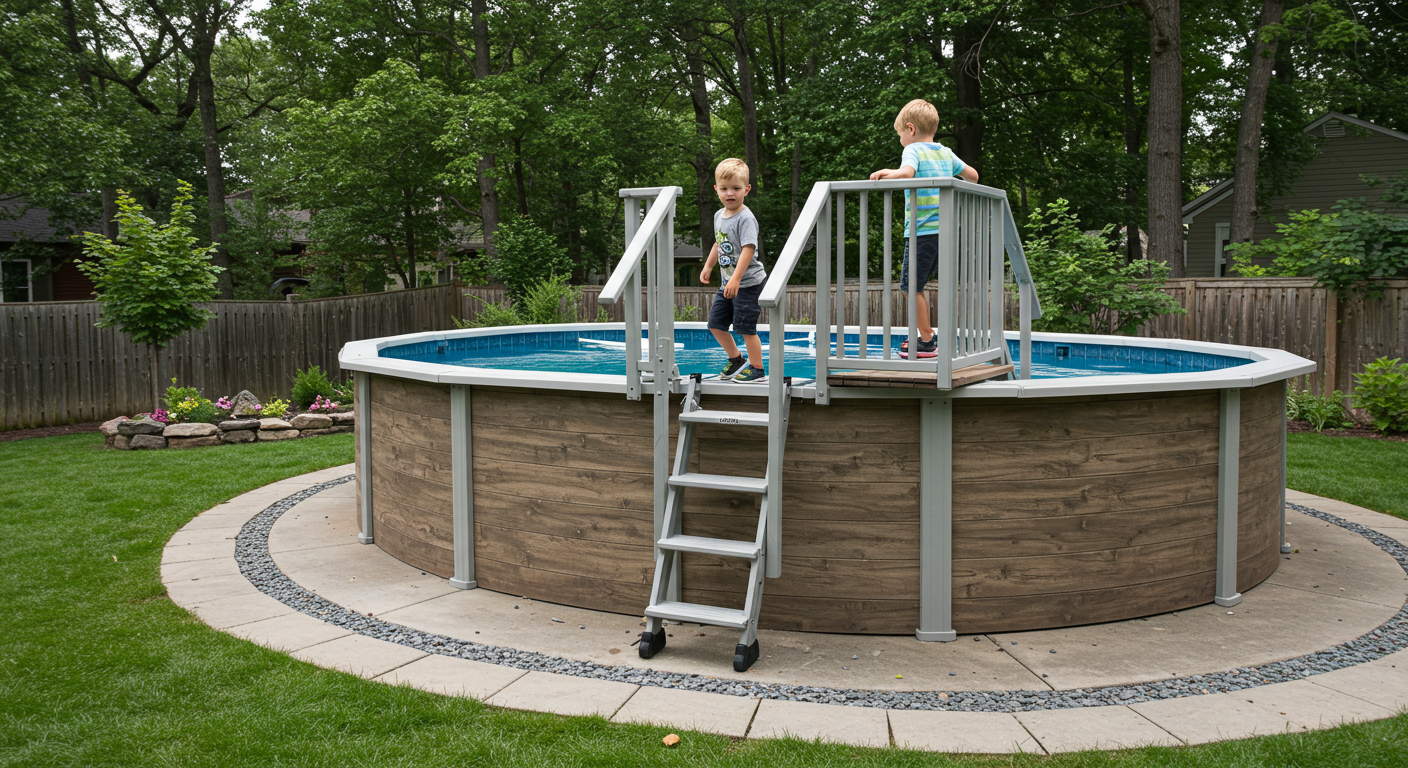
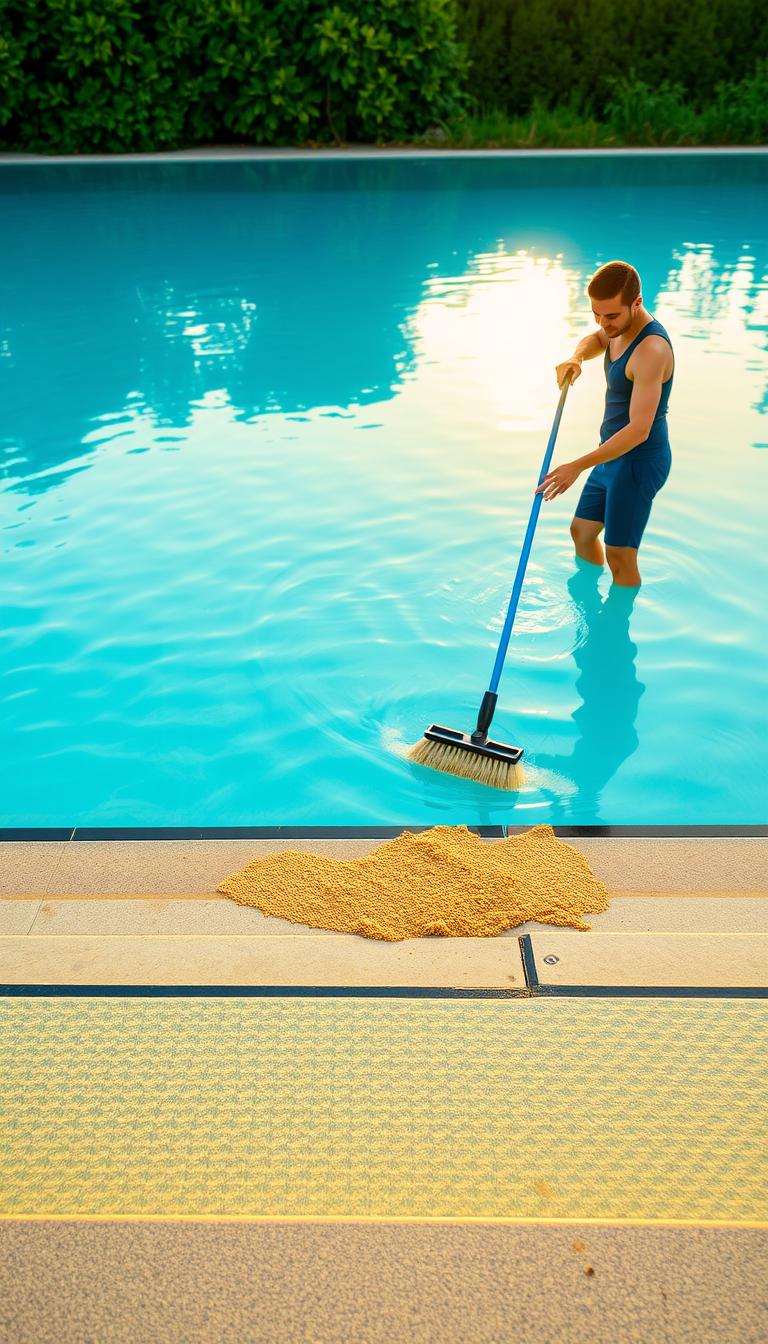
I’ll never forget the summer my nephew slipped climbing out of my backyard oasis. The wobbly ladder that came with my setup felt like an accident waiting to happen – until I discovered custom entry solutions that blended safety with stunning design. That moment changed how I view every inch of my outdoor space above ground pool steps.
Replacing generic ladders with tailored entry systems does more than prevent slips. It transforms your entire swimming area into a cohesive retreat. I learned that standard 40-inch designs work for most setups, but the real magic happens when you adapt them to your unique space and personal flair.
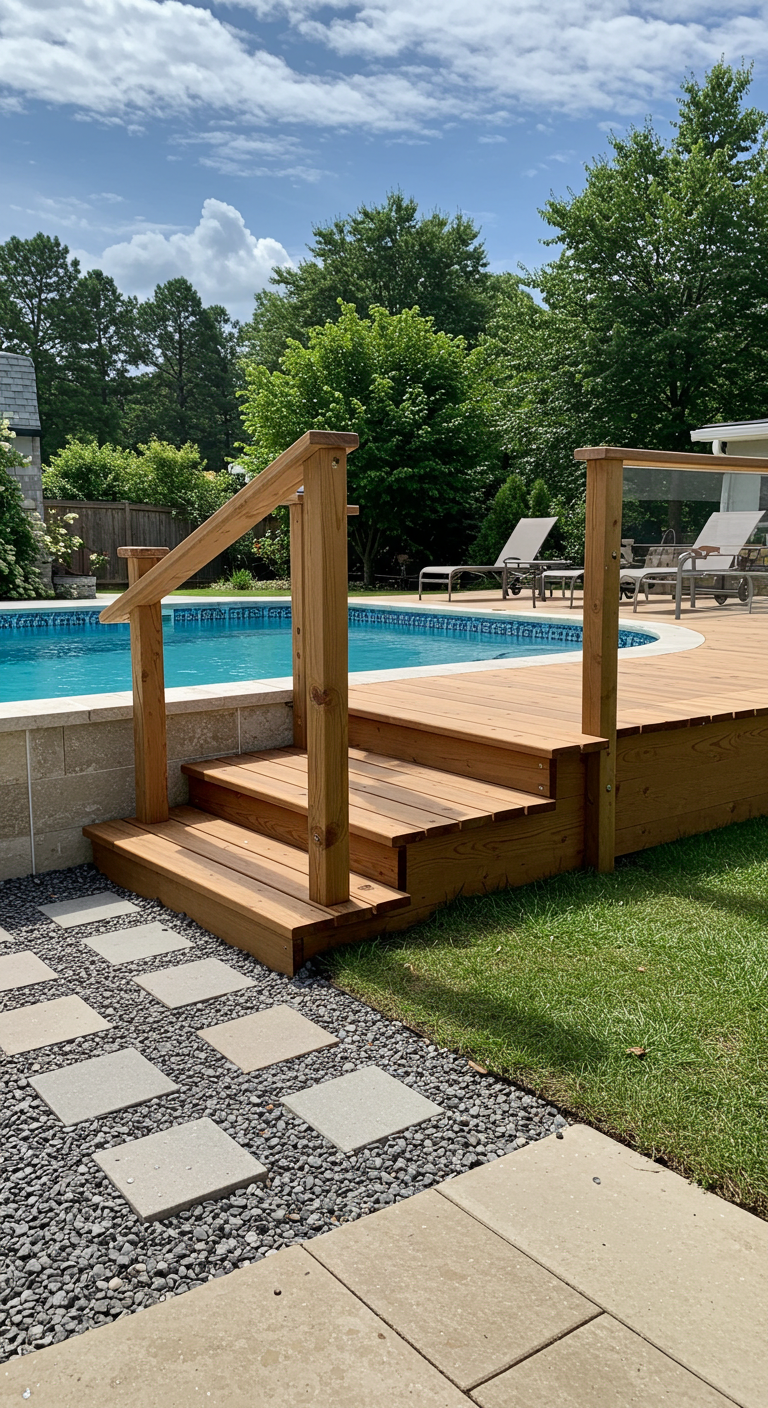
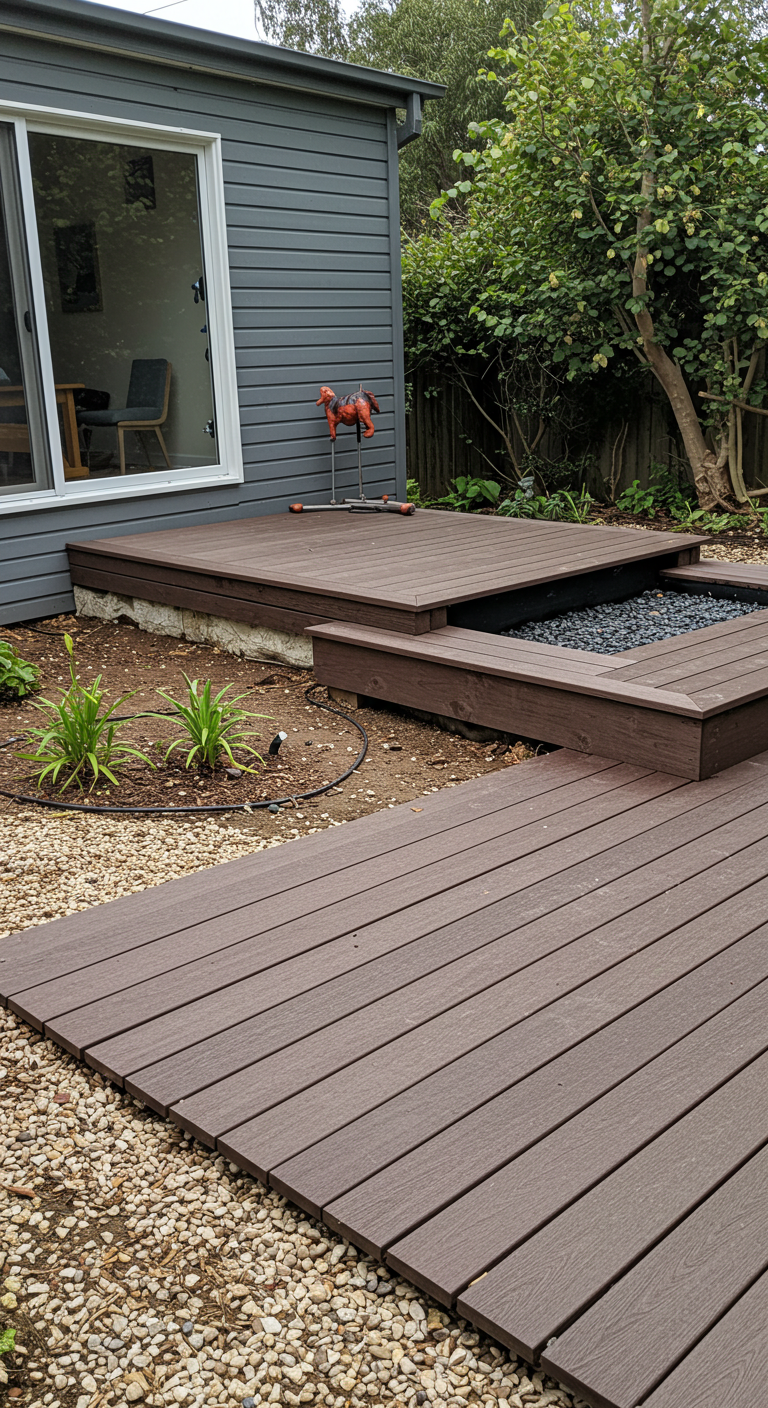
Through trial and error (and a few splinters), I’ve found that deck-inspired details create seamless transitions between water and landscape. The right design doesn’t just make entering the water easier – it becomes a natural extension of your patio or garden, adding both function and curb appeal.
Key Takeaways
- Custom entry systems improve safety while elevating backyard aesthetics
- Standard 40-inch designs can be modified for unique spaces
- Deck-inspired elements create harmony between pool and landscape
- Durable materials reduce maintenance compared to basic ladders
- Personalized designs can increase property value
What started as a safety upgrade became my favorite DIY project. In this guide, I’ll share how to build entry solutions that withstand years of cannonballs and cocktail hours – without sacrificing that resort-like vibe we all crave in our outdoor spaces.
Getting Started with Your DIY Pool Steps Project
My journey began with graph paper and a tape measure. Before cutting a single board, I mapped every inch around my water feature to visualize how entry points interact with the surrounding area. This planning stage revealed surprising opportunities to blend practicality with personal flair.
Decoding Your Space Requirements
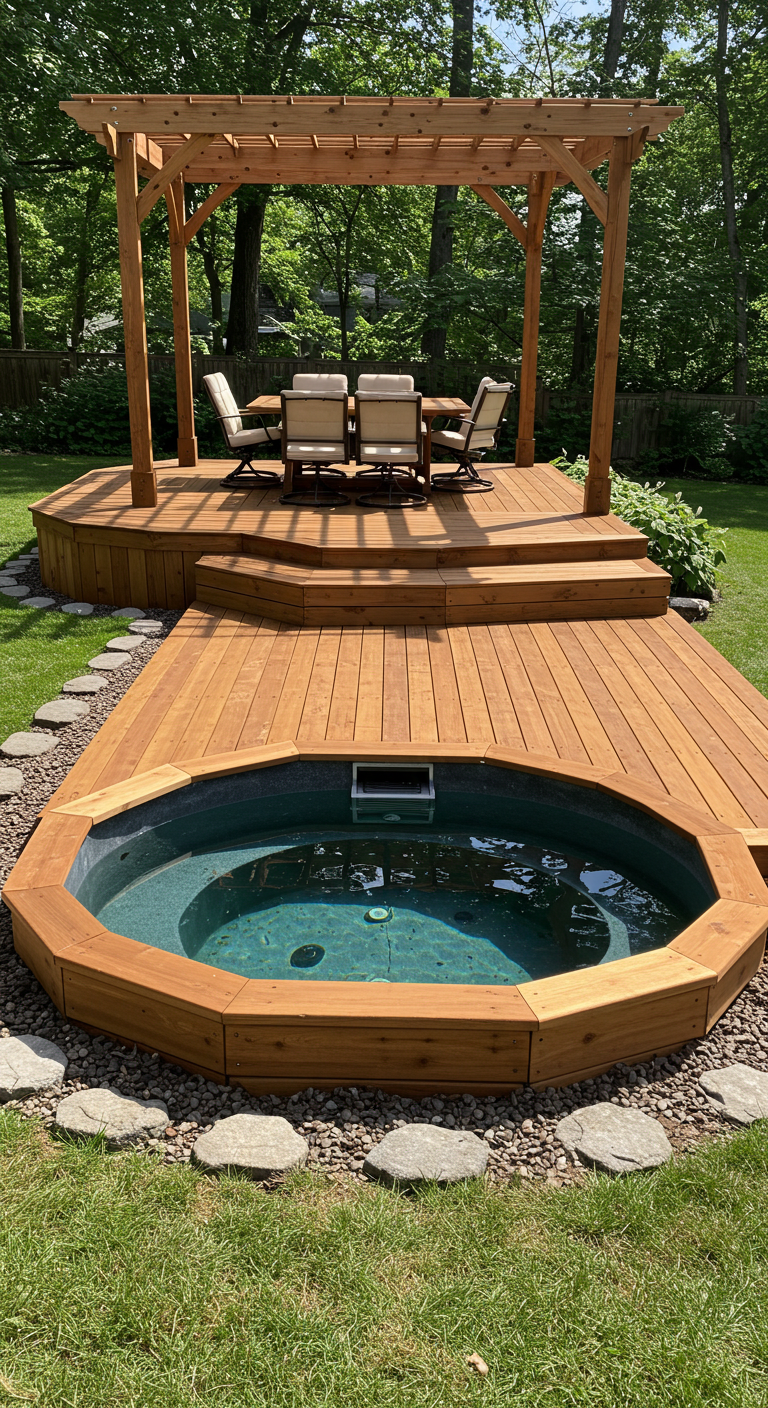
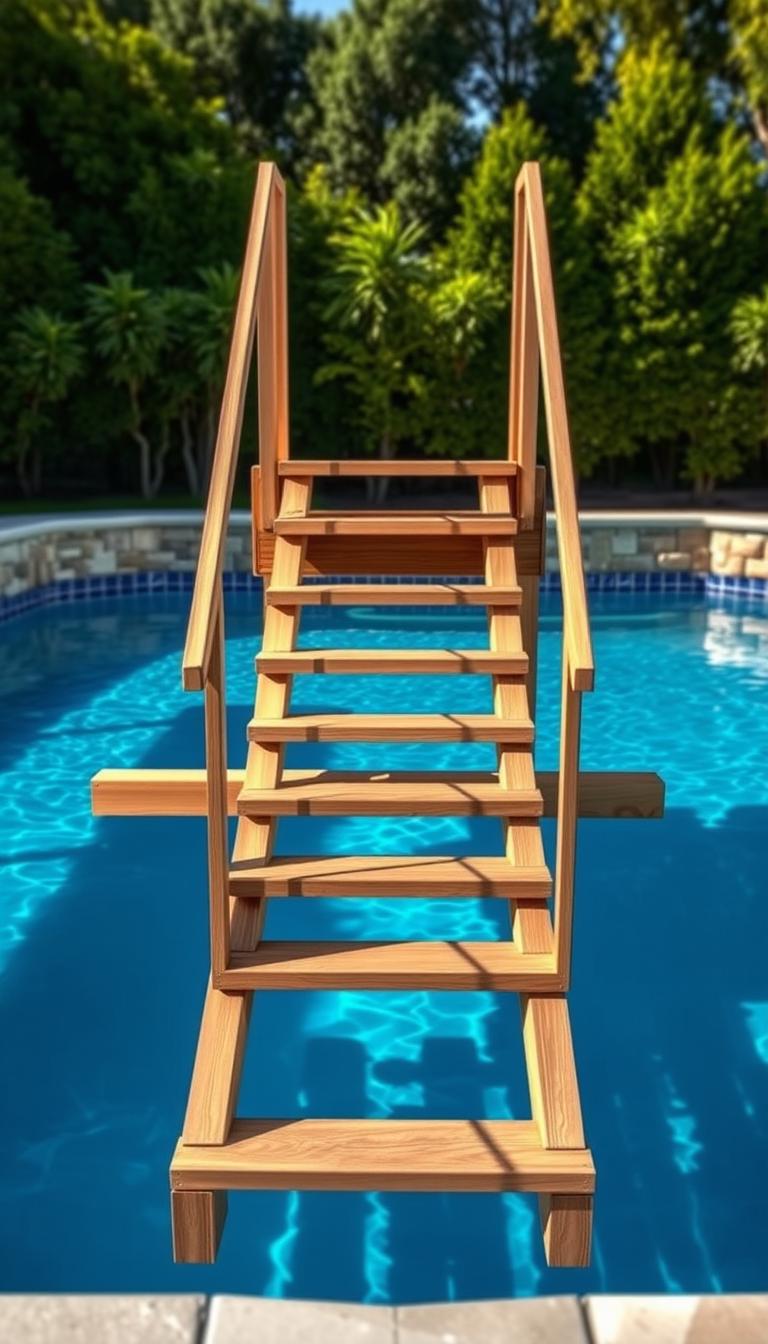
I learned three measurements matter most: water depth, deck clearance, and slope angle. A 48-inch-wide design worked for my oval setup, but rectangular shapes might need different proportions. Matching materials to existing hardscaping creates visual harmony – I chose cedar planks to complement my pergola.
Style Meets Functionality
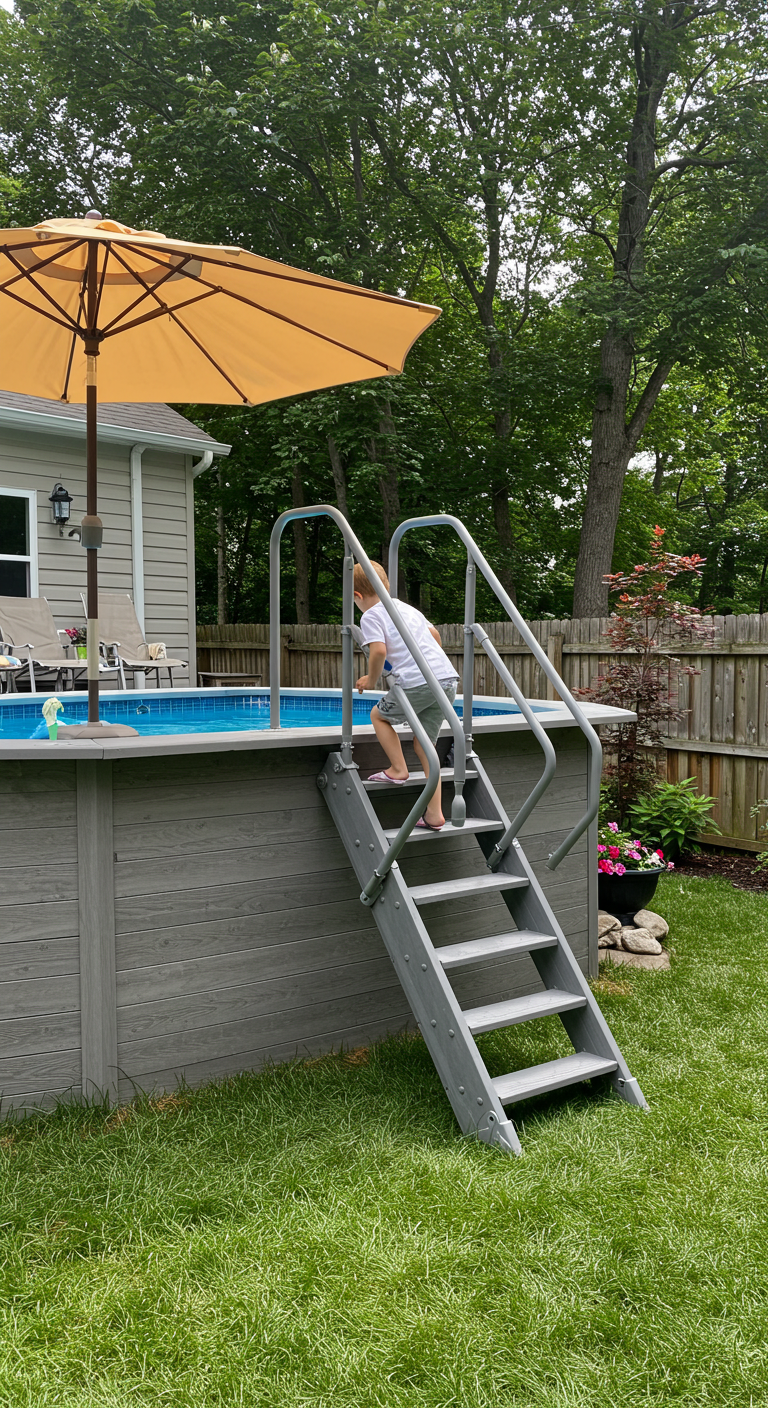
Through trial runs with temporary structures, I discovered wide treads (11+ inches) prevent stubbed toes better than standard models. My final blueprint balanced modern minimalism with kid-friendly features. Consider these factors when planning:
| Material | Durability | Maintenance | Style Match |
|---|---|---|---|
| Treated Wood | 8-12 years | Annual sealing | Rustic/Modern |
| Concrete | 15+ years | Biannual cleaning | Industrial |
| Composite | 10-15 years | None | Contemporary |
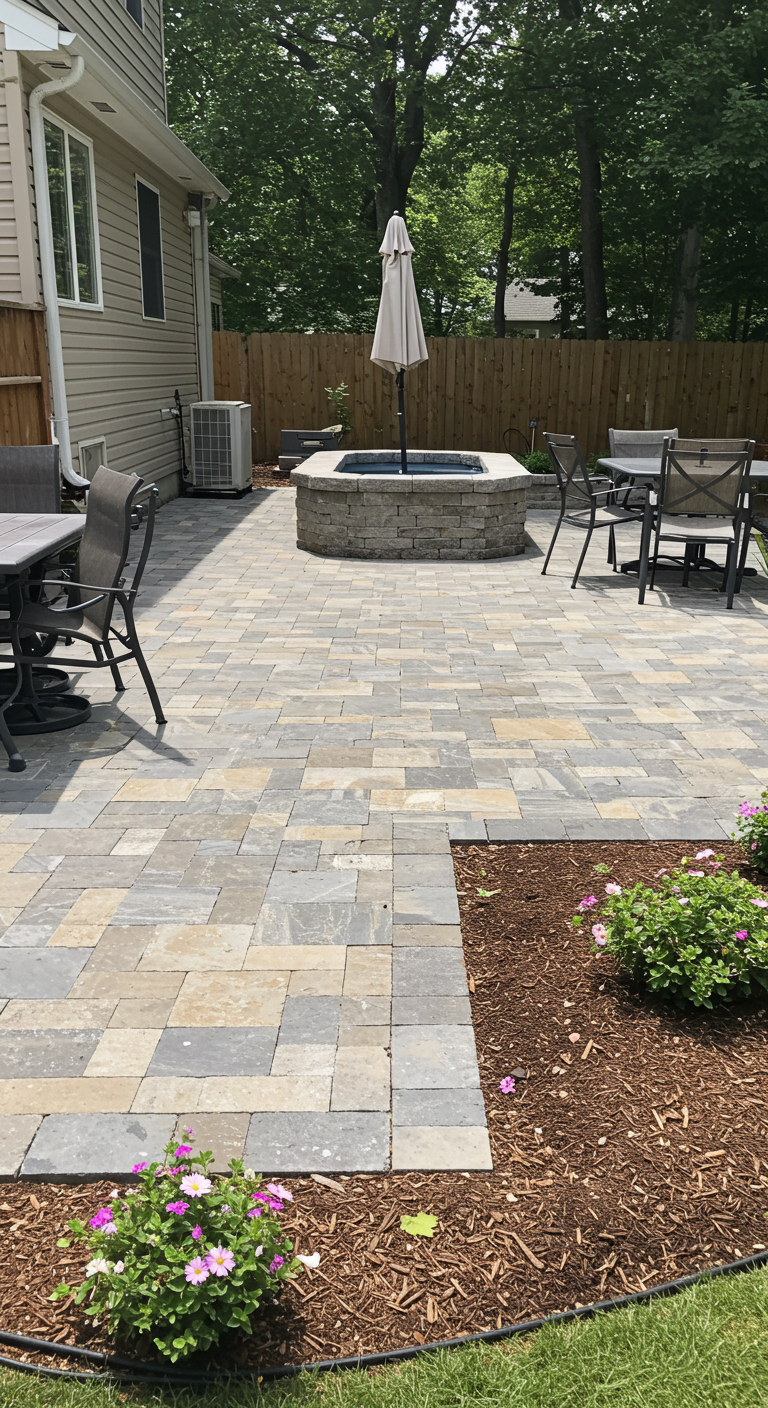
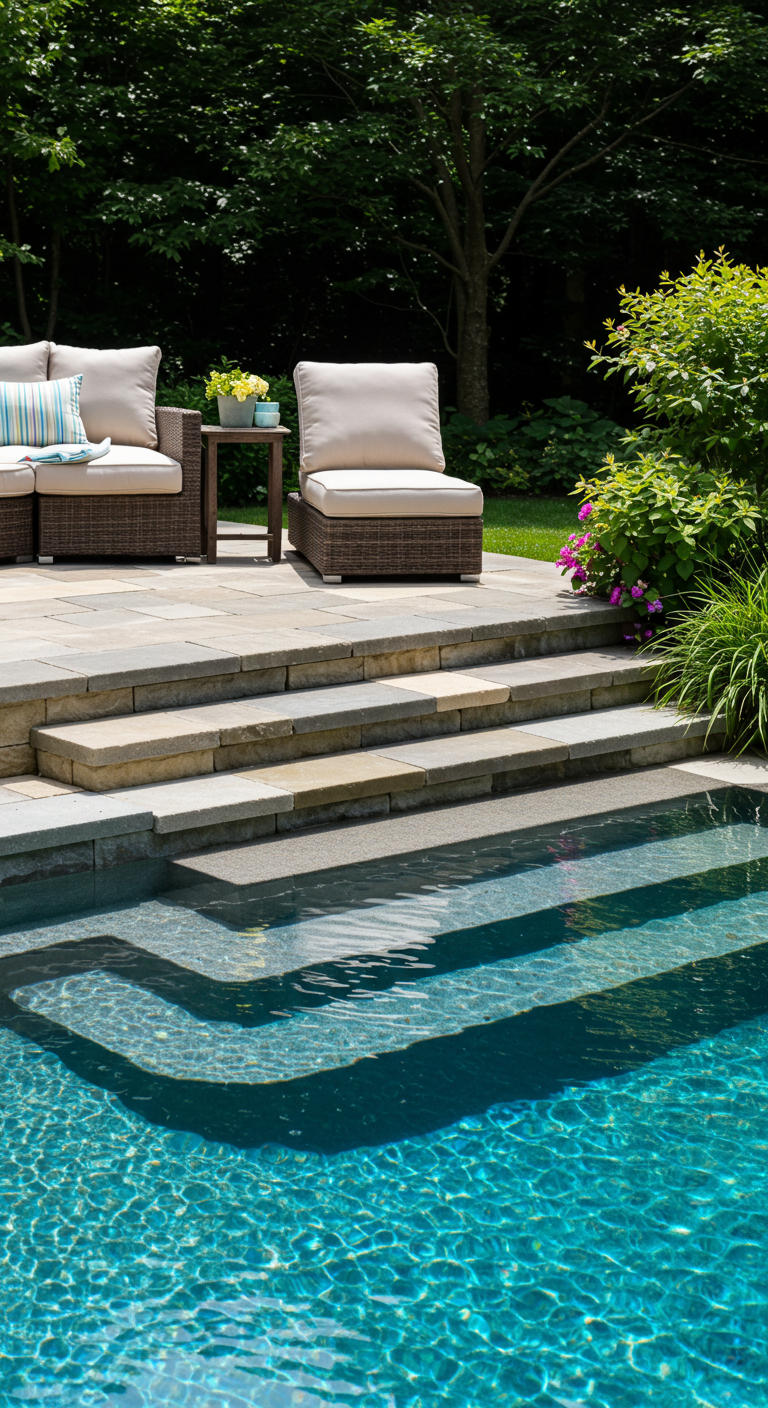
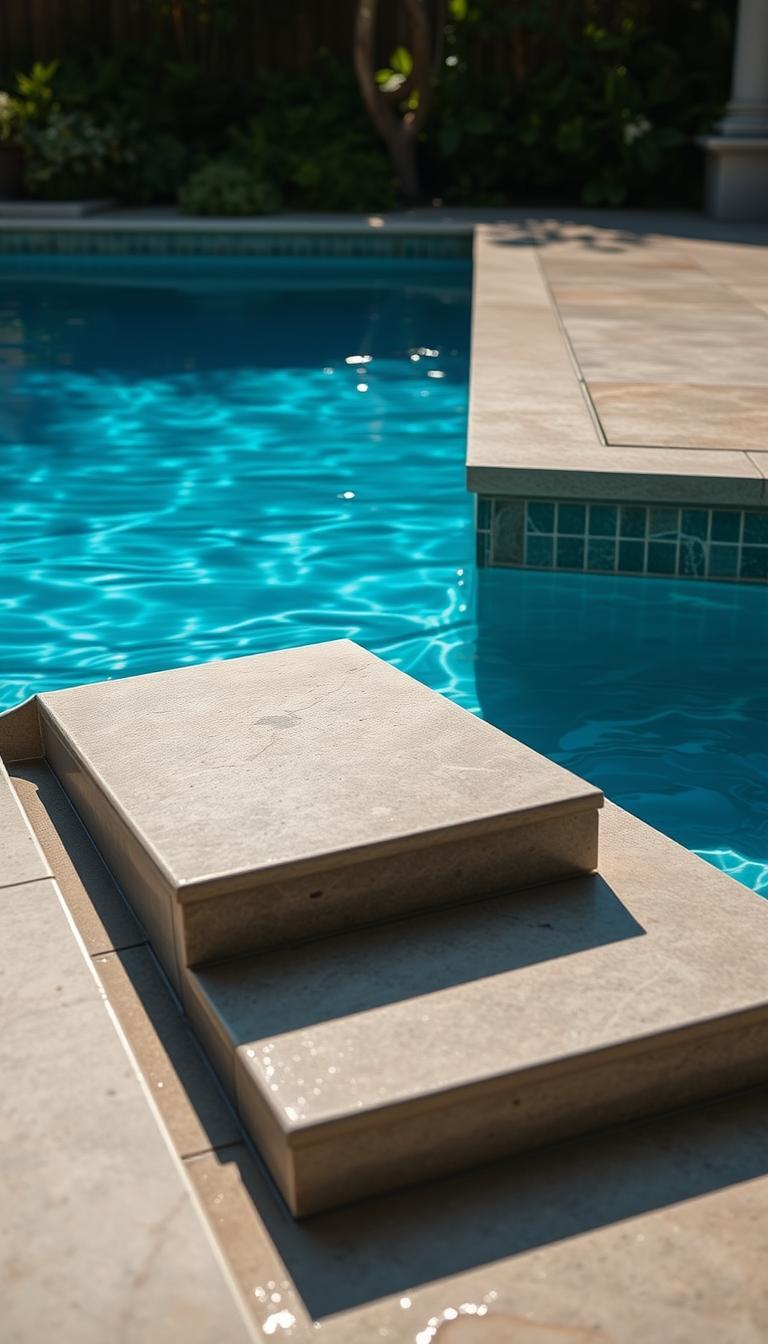
My neighbor’s curved concrete design inspired me to think beyond straight lines. Whether replicating Mediterranean curves or crafting angular modern profiles, your entry system should feel like a natural extension of your outdoor living space.
Planning and Design Considerations
Three summers ago, I nearly abandoned my backyard upgrade after botching measurements for a stone patio. That costly mistake taught me one truth: precision determines success in outdoor projects. Now, I approach every design with laser focus on exact numbers and ergonomic flow.
Measuring Your Pool and Deck for the Perfect Fit
I start by recording three critical dimensions: vertical height from ground to rail, horizontal deck space, and water depth. My go-to formula? Total step count = (Pool height ÷ 7 inches) – this creates comfortable risers. For my 39-inch-tall setup, that meant six steps at 6.5 inches each.
Key measurements I always verify twice:
- 40-inch minimum length for side entry
- 37-inch width between handrails
- 12-inch tread depth for secure footing
Rushing this phase once cost me four sheets of pricey composite decking. Now, I mark cut lines with painter’s tape before slicing materials – it prevents costly errors.
Sketching a Safe and Practical Step Layout
My sketchbook reveals multiple iterations before settling on a final design. I prioritize two factors: 45-degree stair angles for natural foot placement and 4-inch nose overhangs to prevent toe stubs. A neighbor’s ER visit taught me the value of non-slip grooves – now I etch them into every tread during planning.
“Measure with a micrometer, mark with chalk, cut with an axe.”
Balancing aesthetics comes last. I’ll adjust baluster spacing or add planter cutouts once the structural blueprint passes safety checks. This method ensures my designs marry beauty with bombproof stability.
Choosing Materials and Tools for Pool Step Construction
My first material experiment ended with warped boards and rusty hardware. Through testing different options, I discovered three champions for water environments: pressure-treated wood, composite planks, and textured concrete. Each brings unique benefits to your pool deck while resisting moisture damage.
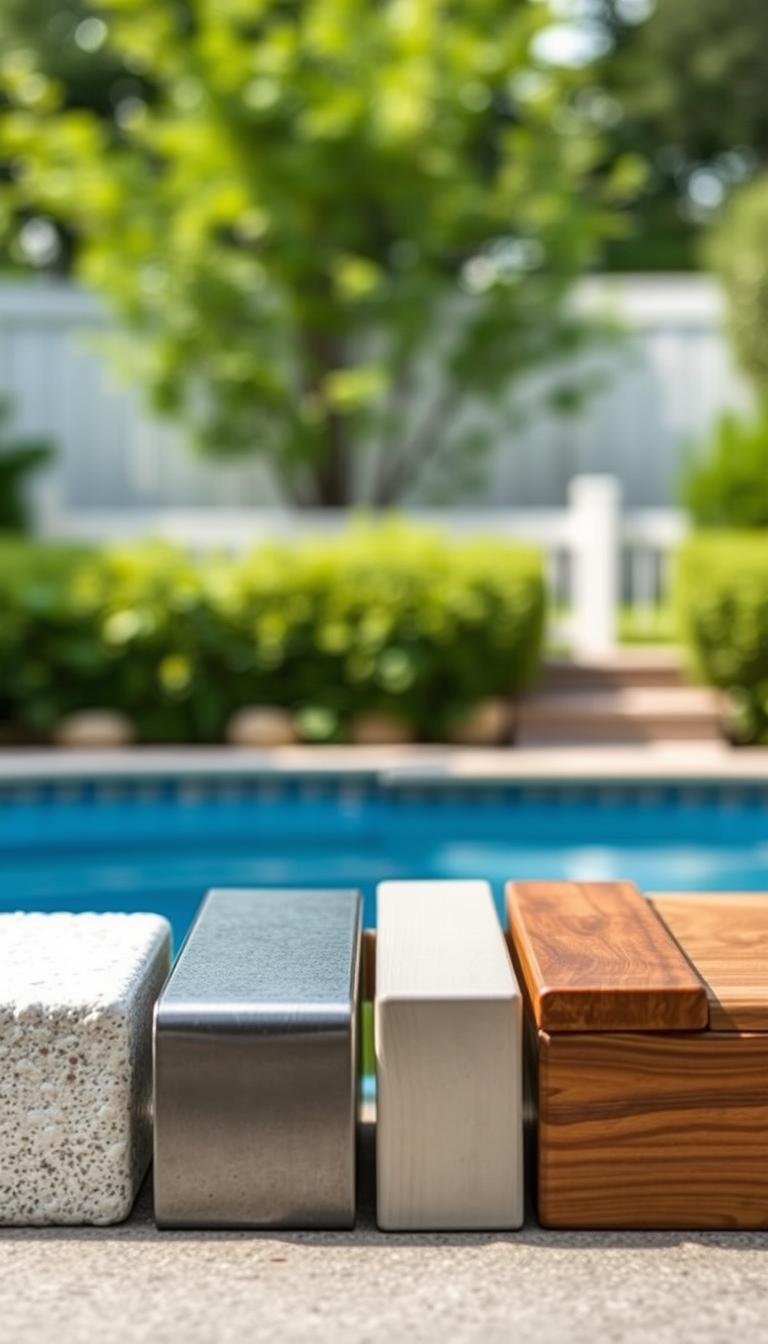
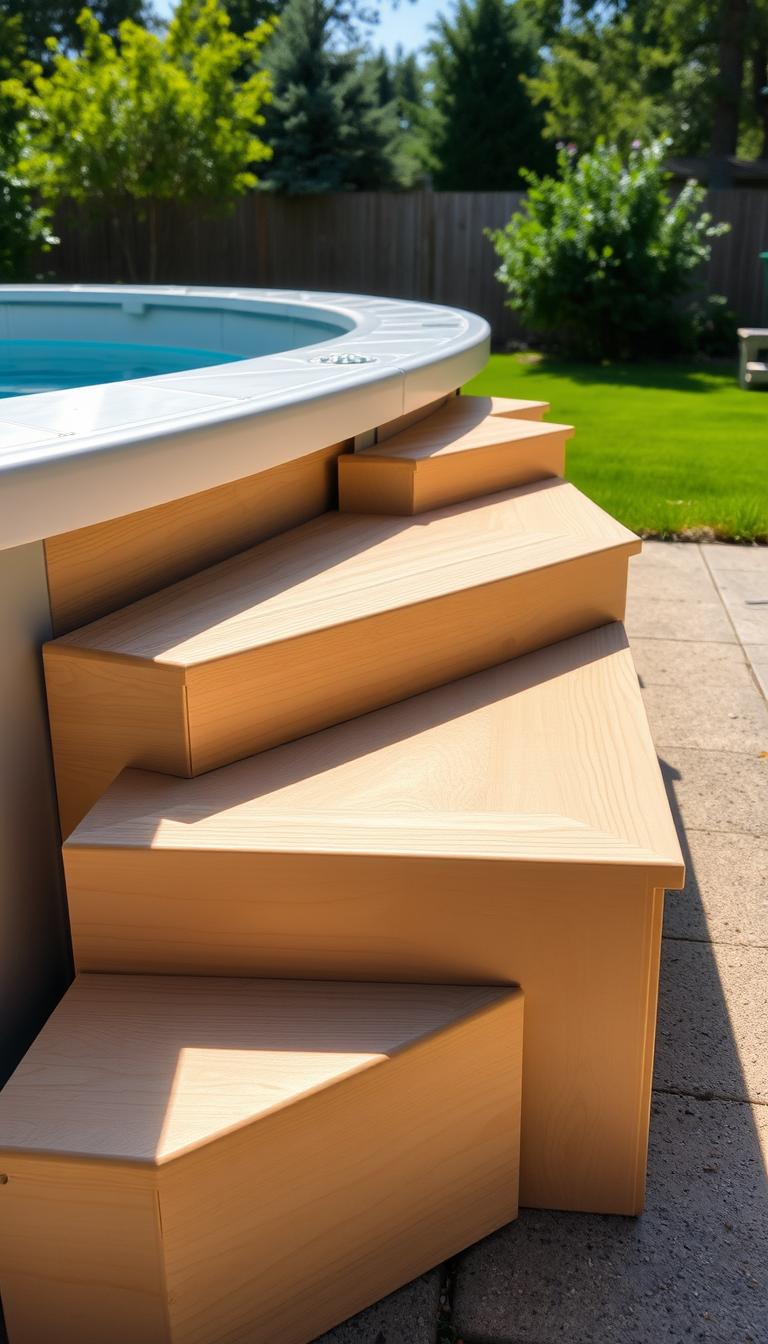
Exploring Wood, Composite Decking, and Concrete Options
Pressure-treated 2x8s became my go-to for structural frames. They handle weight better than standard lumber when sealed properly. For treads, I alternated between wood and composite decking – the synthetic option never splinters and hides scuff marks beautifully.

| Material | Best For | Lifespan | Cost/Ft² |
|---|---|---|---|
| Treated Wood | Support frames | 8-12 years | $2.50 |
| Composite | Treads & surfaces | 15+ years | $6.80 |
| Concrete | Permanent bases | 20+ years | $4.30 |
Concrete pads work wonders for permanent installations around pool edges. I mix in polymer additives for extra crack resistance. Always use 4×4 posts for corner supports – thinner beams sag under waterlogged weight.
Essential Tools and Supplies for the Job
My toolkit evolved after ruining three drill bits on hardened screws. Now I keep these essentials nearby:
- Impact driver with #10 stainless steel screws
- Circular saw with carbide blade
- Concrete float for smooth finishes
- Non-contact voltage tester
Following a detailed guide prevents wasted materials. I pre-drill every hole to prevent splitting and use 3-inch screws for frame joints. For composite surfaces, hidden fasteners maintain that sleek, uninterrupted look everyone loves.
Above Ground Pool Steps Ideas: Creative and Practical Approaches
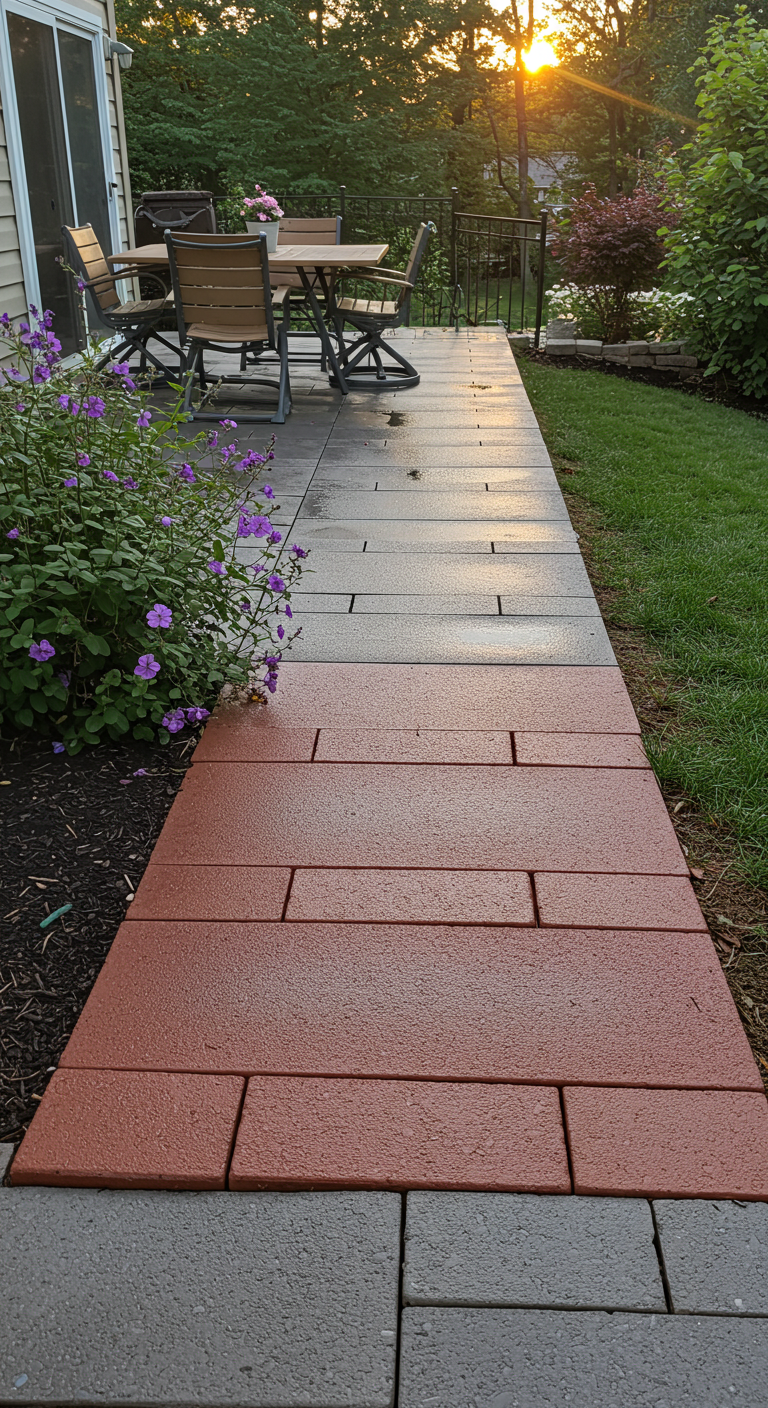
The moment I realized my DIY creation needed to marry safety with style came when hosting a family barbecue. Kids raced across wet surfaces while adults admired sunset views – my entry system had to perform double duty. This revelation sparked experiments with textured finishes and color contrasts that prevent slips while enhancing backyard charm.
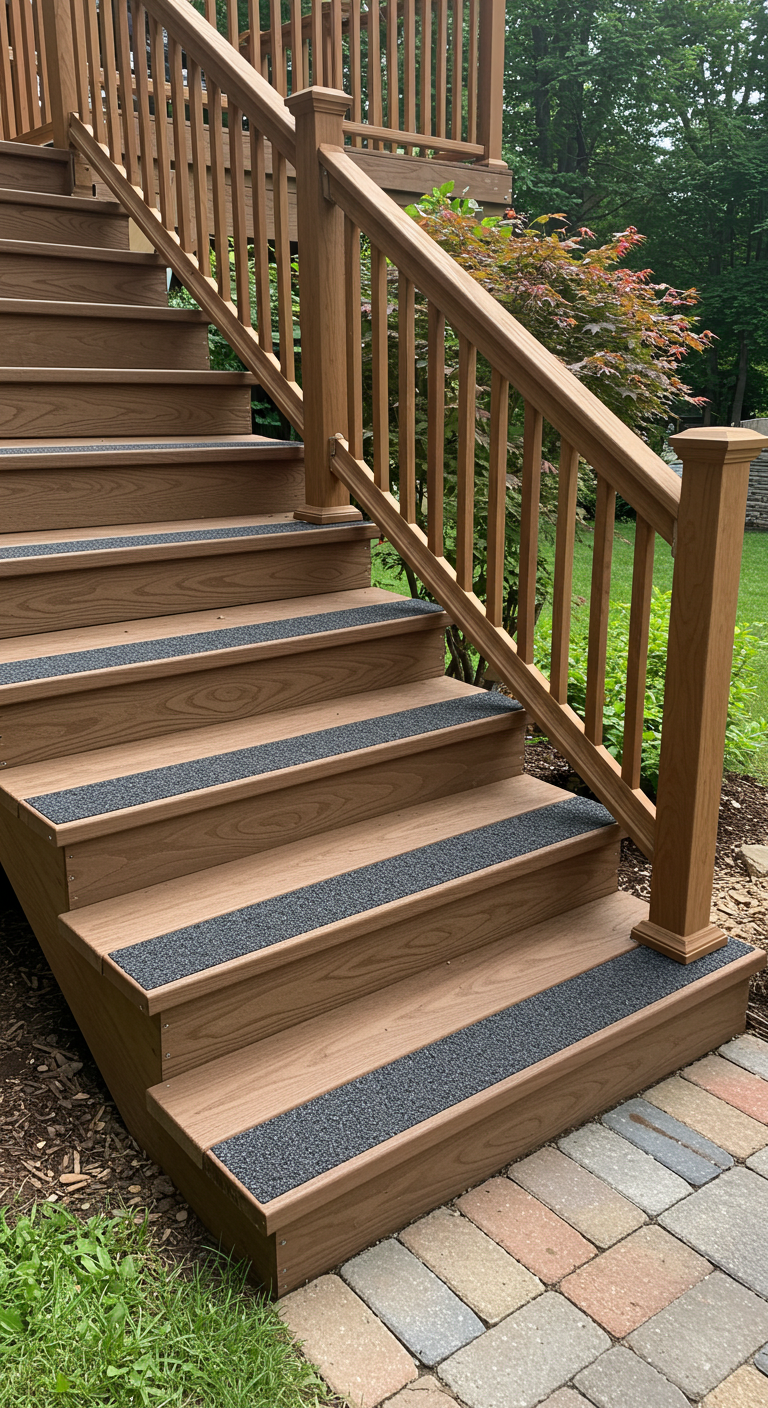
Incorporating Innovative Safety and Aesthetic Features
I discovered three game-changing upgrades during my project:
- Rubberized coatings that bond to wood or concrete
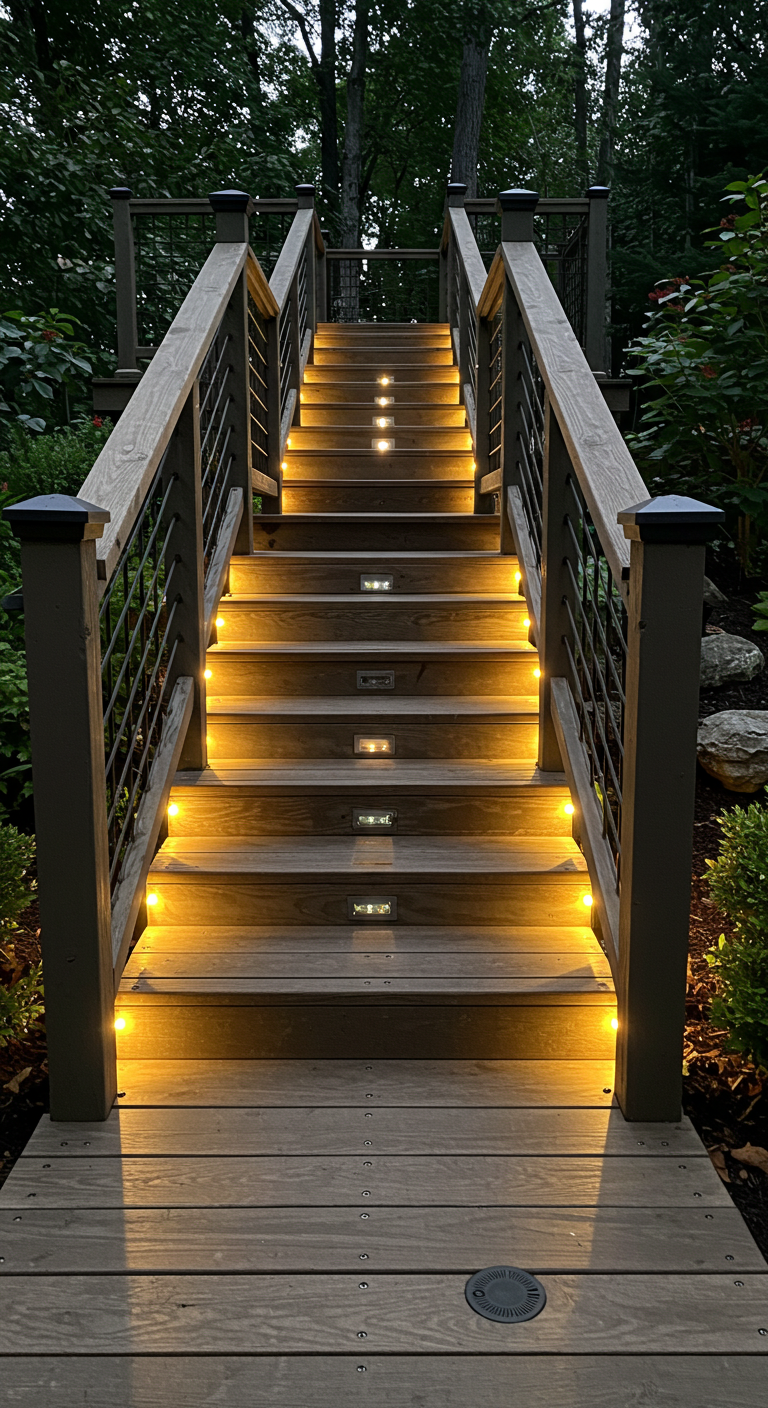
- LED-lit handrails doubling as nightscape accents
- Patterned perforations in metal treads for water drainage
My neighbor’s ER visit taught me that surface treatments matter most. I now mix 60-grit sand into marine-grade sealant for invisible traction. For visual content, I tested seven stain colors before finding a weathered teak hue that complements our landscaping.
“Safety features should whisper protection while shouting style.”
Current trends favor functional artistry. I’ll want to integrate planter boxes into rail posts next season – a trick that merges greenery with structural support. These solutions prove practical elements can become your water area’s most striking features when approached creatively.

| Feature | Safety Benefit | Style Impact |
|---|---|---|
| Textured treads | 35% less slips | Modern industrial look |
| Colored rails | Visibility boost | Coordinated accents |
| Built-in lighting | Night safety | Ambient glow |
Through trial and error, I learned every design decision affects both function and visual content. The right balance turns necessary structures into conversation starters – proof that safety upgrades can elevate your entire outdoor project.
Building Your Custom Pool Steps: A Step-by-Step Guide
Nothing tests your math skills like building a support frame that must withstand 500 pounds of summer fun. I begin every project by laying pressure-treated 4×4 posts across sawhorses, visualizing how each joint will bear weight. The bottom rails get priority – they’re the foundation that prevents wobbles during cannonball contests.
Constructing a Robust Frame and Cutting to Size
My circular saw hums through lumber with surgical precision. For the pool stairs’ base, I cut two 72-inch stringers at 45-degree angles. A laser level ensures perfect alignment before securing crossbeams with galvanized brackets. Three critical measurements I never skip:
- 16-inch center spacing for vertical supports
- 1/8-inch gap between treads for expansion
- Double-checking diagonals for square alignment
I reinforce the bottom tier with extra concrete footers after learning the hard way about frost heave. This creates a rock-solid base that laughs at shifting soil.
Installing Treads, Handrails, and Support Features
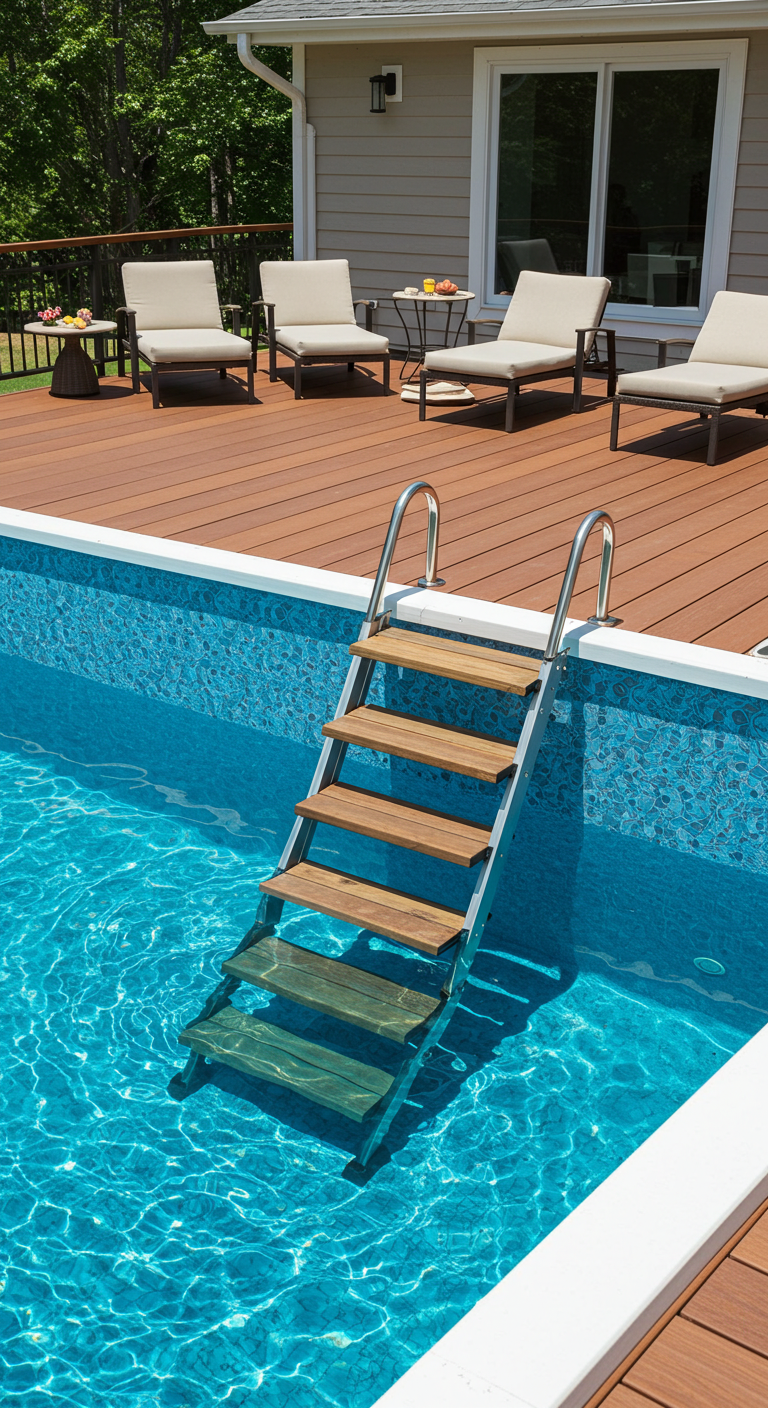
The top step demands special attention it’s the transition point between deck and water. I notch composite planks to hug the rail snugly, then add a middle bar between handrails for kid-proof stability. My installation sequence:
- Secure treads with hidden fasteners
- Mount powder-coated rails using sleeve anchors
- Test every connection with 50 lbs of lateral pressure
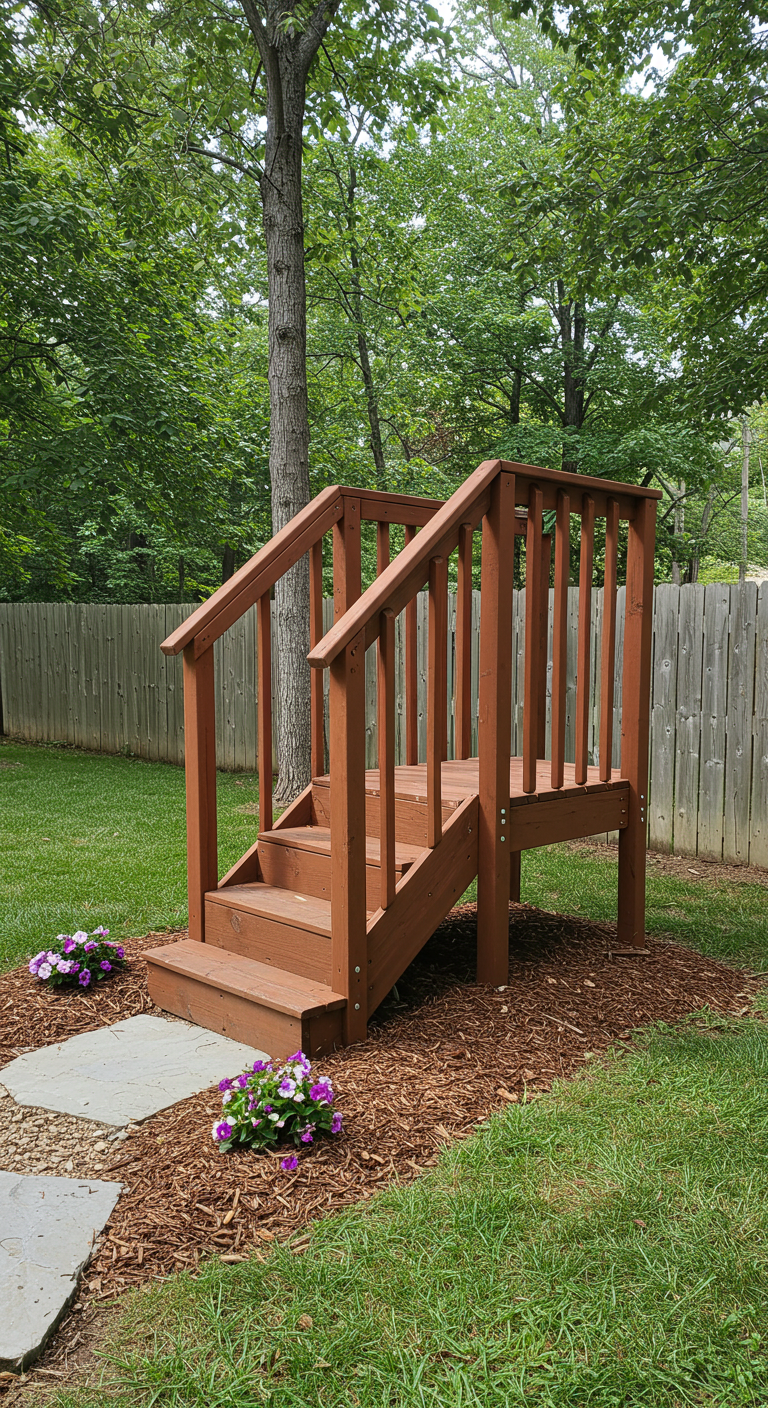
Seeing the first neighbor use the pool stairs without hesitation? That’s the moment DIY magic happens. The top cap gets a final sanding pass, transforming functional structure into polished centerpiece.
Ensuring Safety and Non-Slip Surfaces
My neighbor’s tumble down slick stairs last July became my wake-up call. While their scrapes healed, I dove into creating surfaces that laugh at wet feet and summer splashes. The secret? Layering smart materials with strategic design.
Surface Treatments That Outsmart Water
I tested seven products before finding my holy grail: rubberized epoxy mixed with crushed walnut shells. This combo creates a grip that feels like mountain trail treads. For existing surfaces, peel-and-stick traction strips work wonders. My comparison chart helps choose the right solution:
| Product Type | Application | Traction Rating |
|---|---|---|
| Textured Paint | Brush/Roller | ⭐️⭐️⭐️ |
| Grip Tape | Adhesive Backing | ⭐️⭐️⭐️⭐️ |
| Epoxy Mix | Trowel Applied | ⭐️⭐️⭐️⭐️⭐️ |
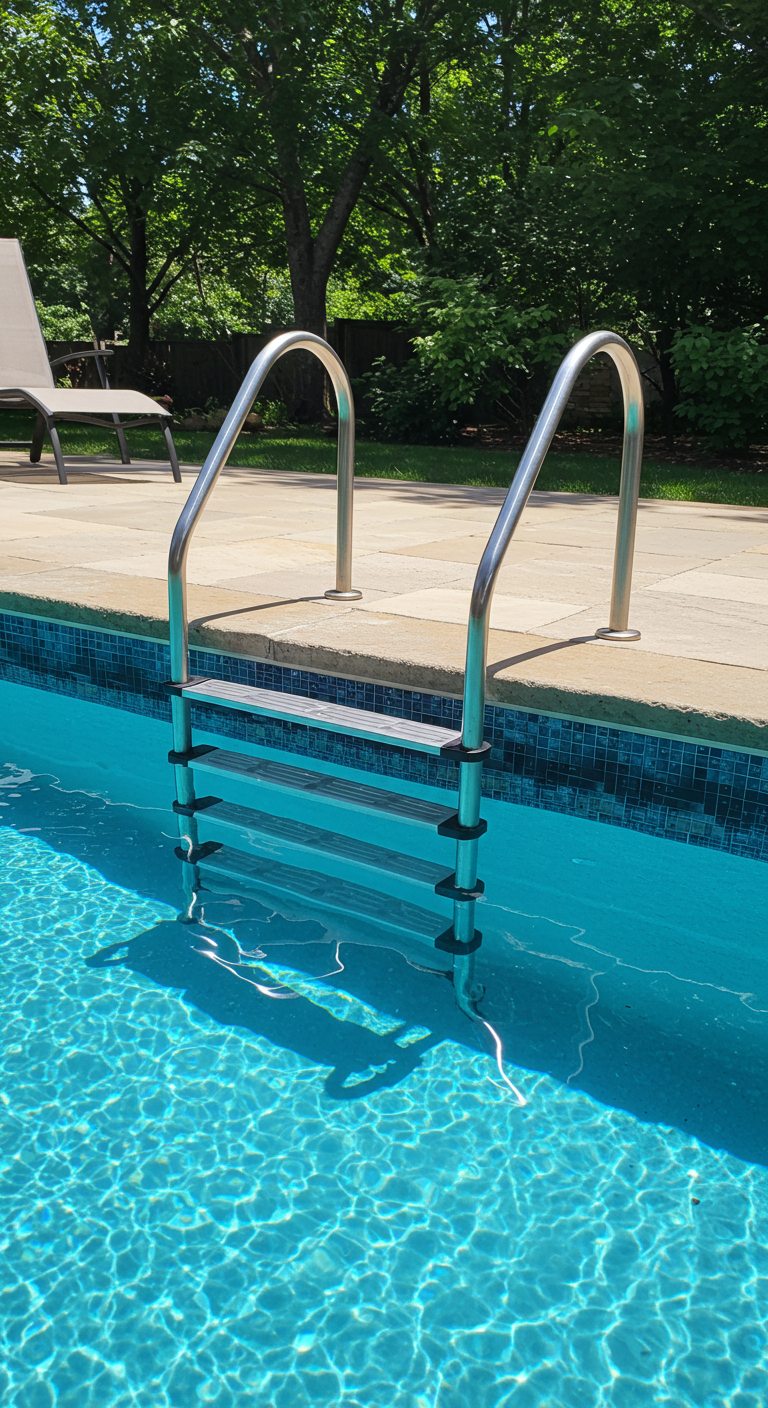
I always extend treatments 6 inches beyond the waterline. This prevents steps float scenarios where wet edges become danger zones.
Engineering Stability Through Design
Handrails need more than basic screws. I anchor mine with concrete-filled post holes and position them at 34-38 inch heights. The magic happens in the middle bar – placed exactly 42 inches from the deck, it gives kids and adults alike a secure pivot point.
“Three contact points minimum – that’s the golden rule for aquatic safety.”
Even the liner plays a role. I overlap mine 3 inches up the bottom stringer to eliminate gaps where toes could catch. Every detail gets scrutinized through my think steps checklist:
- 16-inch rail spacing for small hands
- Rounded tread edges
- UV-resistant fasteners
These precautions transformed my backyard from a slip-n-slide into a worry-free zone. Now when friends cannonball off the deck, I smile knowing every surface works harder than my pool filter.
Finishing Touches: Sanding, Sealing, and Aesthetic Enhancements
The final sweep of 80-grit paper revealed the true potential of my creation. This phase transforms rough-cut lumber into a polished entry system that feels professional. Every groove and edge demands attention to ensure years of splinter-free use.
Sanding Techniques for a Smooth, Splinter-Free Finish
I start with 60-grit paper to knock down sharp edges, progressing to 220-grit for baby-skin smoothness. The secret lies in following wood grain patterns – cross-sanding creates microscopic snag points. For tight corners, I wrap sandpaper around a paint stir stick.
Applying Sealants and Decorative Paints
Three thin coats outperform one thick application. My go-to marine-grade sealant gets brushed on with a foam applicator, focusing on end grains that soak up moisture. For color accents, I use UV-resistant deck stains in coordinating tones.
| Sealant Type | Durability | Reapplication |
|---|---|---|
| Oil-Based | 2 years | Annual touch-ups |
| Water-Based | 18 months | Biannual checks |
| Epoxy Hybrid | 3+ years | None |
Integrating Functional and Stylish Details
I added recessed LED strips along the bottom stringer – they illuminate the path without glare. The handrail caps received a subtle texture using sand-mixed polyurethane. These touches maintain safety while elevating visual interest.
Proper weight distribution matters when applying finishes. I keep coatings light on horizontal surfaces to prevent drips, building up layers gradually. The final result? Stairs that blend seamlessly with the outside pool area while standing up to constant use.
Maintenance Tips and Routine Upkeep
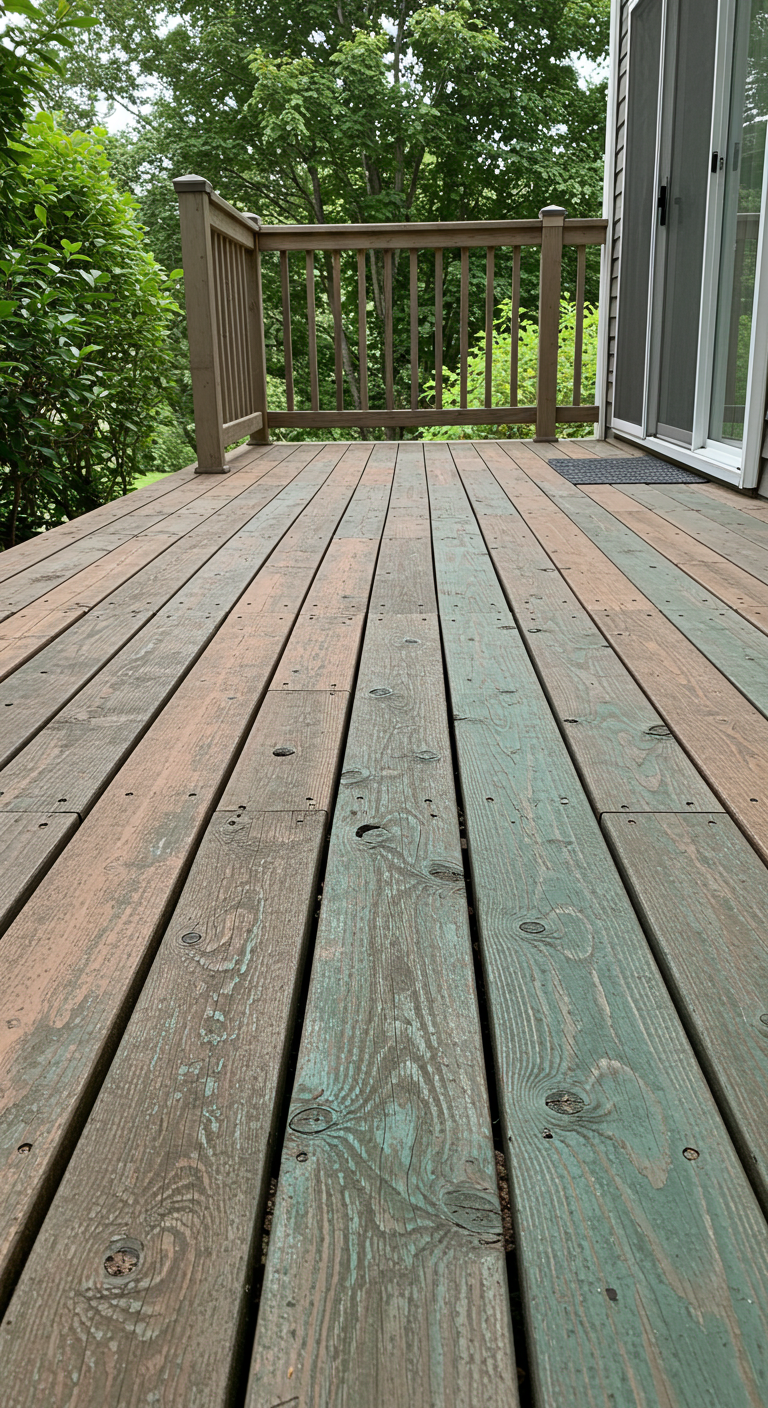
Last spring’s surprise discovery of cracked sealant taught me maintenance isn’t optional. Through trial and error, I’ve developed a rhythm that keeps my step system functioning like new while preventing algae invasions. These practices ensure every season brings worry-free enjoyment rather than repair headaches.
Conducting Yearly Inspections and Timely Repairs
I mark my calendar for two critical checkups: post-winter thaw and mid-summer peak use. During these reviews, I verify each step system component using a simple checklist:
- Loose fasteners in handrails or treads
- Cracks in sealants or composite materials
- Discoloration signaling algae colonization
Early intervention keeps steps good for years. Last June, I caught a warped support beam before it compromised the entire structure – a $15 fix versus $300 replacement.
Weatherproofing and Cleaning to Extend Longevity
Battling algae became easier when I adopted this three-step ritual:
- Scrub surfaces weekly with oxygen-based cleaner
- Apply anti-microbial spray monthly
- Refresh waterproof coatings every 18 months
My maintenance schedule adapts to seasonal demands:
| Season | Focus Area | Tool Kit |
|---|---|---|
| Spring | Sealant renewal | Marine-grade epoxy |
| Summer | Algae prevention | PH-balanced cleaner |
| Fall | Debris removal | Stiff-bristle brush |
“Consistent care prevents 80% of poolside repairs.”
These habits keep my step system looking sharp through sun, splashes, and surprise storms. When I spot early algae formation, a vinegar-water mix nips it quickly without harsh chemicals. Remember: proactive care ensures your steps good condition becomes their default state, season after season.
Video Tutorials and Community Resources
When my first support beam cracked under pressure, I discovered a goldmine of collective wisdom online. Digital mentors became my secret weapon for troubleshooting and refining techniques. The right video guide can turn complex processes into manageable chunks, especially when working through the final stages of a project.
Following Step-by-Step YouTube Guides
I bookmarked channels like Backyard Builds that demonstrate critical details – like sealing gaps between blocks or reinforcing hand grips. Their slow-motion close-ups helped me master angled drilling for rail anchors. Three elements I always verify in tutorials:
- Creator credentials (look for contractor certifications)
- Comments section troubleshooting
- Material lists matching my project scope
A game-changing tip came from a 43-minute walkthrough showing how to fill hollow stringers with expanding foam. This solved my persistent echo issue and added structural rigidity.
Engaging with DIY Communities and Expert Forums
The Bunnings Workshop forum became my virtual job site. Members helped me diagnose mysterious holes in my composite planks – turns out it was woodpecker activity! For hands-on feedback, I share progress photos in Facebook groups specializing in water features.
“Post your blueprint drafts – fresh eyes catch errors before they become expensive mistakes.”
| Platform | Best For | Key Feature |
|---|---|---|
| YouTube | Visual learners | Timestamped chapters |
| Bunnings | Material hacks | Local supplier insights |
| Facebook Groups | Real-time help | Photo troubleshooting |
These resources transformed my solo project into a collaborative effort. When I struggled with end caps for my handrails, three community members suggested alternative fastening methods within hours. Now I pay it forward by documenting my lessons learned for other builders.
Conclusion
Seeing my reflection in the water’s surface last week, I realized how this project reshaped my backyard. The custom entry system now feels like it’s always belonged here – a perfect marriage of security and design that makes every swim more enjoyable.
Choosing materials with care and adding rubberized textures transformed basic stairs into a centerpiece. Each measurement and finish selection helps the structure place well within our outdoor living space. What began as safety upgrades became expressions of personal style.
Through years of testing, I’ve learned lasting results come from balancing bold vision with routine care. Simple habits like seasonal inspections and gentle cleaning preserve both function and beauty. These efforts ensure my creation remains a source of pride rather than repairs.
For anyone hesitating to start: your perfect design awaits. Embrace the planning phase, celebrate small victories, and watch how thoughtful details elevate your entire oasis. With proper execution, your custom entry will deliver years of safe enjoyment while reflecting your unique outdoor aesthetic.